Friday, January 27, 2017

First Grade Giant Butterflies.

First graders have listened  to 2 non fiction books about Butterflies. Some have previously hatched them in classrooms, and are experts!   This project has taught students about center line symmetry, and producing a "large" work of art. The largeness did not deter these youngsters from tackling their butterflies with scissors. After cutting, they had thick glue, a little spatula, and bins of sparkly, and unique items to  embellish the wings. Some worked hard to apply similar objects on both sides of the butterfly to maintain the symmetry, Come back to check out our fine step!


Fifth Grade Clay Castles

Clay day is sooooo exciting here at Sopris. I am grateful for my administrators and my Art to Remember Fund Raiser, as this is our most expensive  art project. We only get one day to create our clay project. Clay is a medium that doesn't get tucked into a folder to save for the next week.!So students must first do a little research and sketch-planning. After studying shots of actual castles, student draw them in their sketchbooks. This planning is essential to all artists. Plus it helped the children to look at the architecture of what makes a castle, a castle! The next class I demonstrate how to cut and attach pieces to make the castle. This score and slip method is an absolute necessity with clay. What seems sticky now will fall off later if not attached correctly. Students worked like engineers under a deadline. They cranked out some really neat structures! Come back to see the fired and painted pieces.


Friday, January 20, 2017

Fourth Grade: Masks and Stands

As Fourth graders are completing their embossed, colored, flossed, texture foil masks, they next turn to the mask stand. As anyone married to teacher, much more and elementary art teacher, knows. sometimes spouses have special skills that get called upon too. And they can get asked to "help" with various projects. My sweet spouse spent and evening cutting 2x4's and 1/2" dowels for the stands. I drilled the holes for the dowels. I learned that I really LIKE power tools...... ! The kids are now sanding, cleaning, and painting the stands. First they paint an acrylic base coat, then they will decorate the stand with paint. The final step will be to attach the  mask. These will look super cool in the May 1st Art Show! Come back for a peek at finished projects.


Peas in a Pod : Third Grade

We do a lot of portraits and character drawing in Art. I like to get the students out of their "face"box. In other words, I like to challenge the students to notice facial details and expressions. Create faces in a new and fresh way. Expression gives their art feeling. We studied pictures of people with various expressions. I had them really notice eyes, eyebrows, and mouths. They made 12 circles in their sketchbooks and tried to draw 12 different emotions, or facial expressions. I did not tell them what we were going to do with these. The next week we had lumps of clay. The students split the clay in half. First they formed a longish pinch pot like a canoe. That became the pod. Next students rolled balls ( at least 3) and formed faces on each. Each face had to show a different expression. They pushed foreheads up and down to create eye brows, and drew various mouths. We all laughed and had a great time. The heads were placed into the pods and lightly pinched around them. They are rather thick, so they will be drying for a few weeks until I can give them a bisque firing. I just think they are fantastic!


Clay Pinch Pot Lions

I love to launch art projects from literacy. The words and pictures are so rich! We read the book, "Snow Lion". We drew lions afterward to focus on the coloring and parts that make a lion a lion!
The next week students formed a pinch pot, and a pancake. The pot became the lion's body, with feet and a tail. The pancake became the head and mane which the kids drew right on the clay  with a clay tool or a pencil. The tricky part, and a lesson I wanted them to learn, was how to use score and slip to attach 2 clay pieces together. Each piece has to be roughed up, or "scored". We carve a tic tac toe into the two pieces to be joined. The a bit of water is dripped onto the scratched parts to create "slip", or a clay-glue. Some students did better than others as they attached lion heads to bodies. The proof comes as I load dried pieces into the kiln for firing. Poorly joined heads slough off. Alas, there is always hot glue later......

Elmer's Finished, Second Grade

This Elmer project has taken a long time, but it has covered a lot of art skills. Also we have read many Elmer story books from the series. After oil pastel patterns, the children painted a gray watercolor wash in every other square. All over the room one could hear the mantra "paint one, skip one," as students created a checkerboard of grays. Next they made the jungle for the background. They learned about the word "silhouette". We studied the author illustrator,David McKee's style of wonky jungle plants. I made a handout of some simple ideas as well. The hard part was to limit oneself to the outline only of the tree. On a black silhouette, you cannot see inner details. Finally the children cut out Elmer, and glued him on the back ground piece.


A First Grade Color Wheel Turtle

Here is a sample of a completed color wheel turtle. Very cute and great color mixing!
The waves were created from wavy cut construction paper.


Finished Clay: First Grade

I saw a cool idea, tried it and learned for next time. Our birds and bird baths were fired with a blue glass marble inside, the kind used in vases of flowers. Next time I will wait to add the marble during the second glaze fire, which is cooler and shorter. In the bisque firing, the beads melted and bubbled a bit too much. The children were enthralled though, at the water-looking bird bath. We kept the bowl white but painted our birds a host of water colors.


finished clay, Kindergarten

Finders painted their turtle pinch pots with watercolors. The children were amazed at how quickly the paint dried. They learned about the word "porous"! This allowed them to add colors over colors, which is what kinders LOVE to do. After all, for them, the process is of more value than the product.
I saved a class of turtles for the May 1st  art show. These were coated with Modge Podge, and I added Googly-Eyes.


Tuesday, January 3, 2017

Fifth grade family portraits

Fifth graders viewed and discussed slides  of family portraits though out history. We explored the emotions, caricatures, and meanings in family portraits. We then looked at some modern, rather funky family and group portraits by some artists named Mitch and Am.e Alamag. Their site is called Rokoko.com. I picked up several of their prints one summer at the Carbondale, Mountain Fair. They are colorful and fun. So, emulating their style, we are "representing" our families on black paper with silver metallic pencil. These are then colored with chalk pastel. Students are doing a good job experimenting with blending colors of pastels.  Soon we will be adding the back ground and a quote about families, so check back!
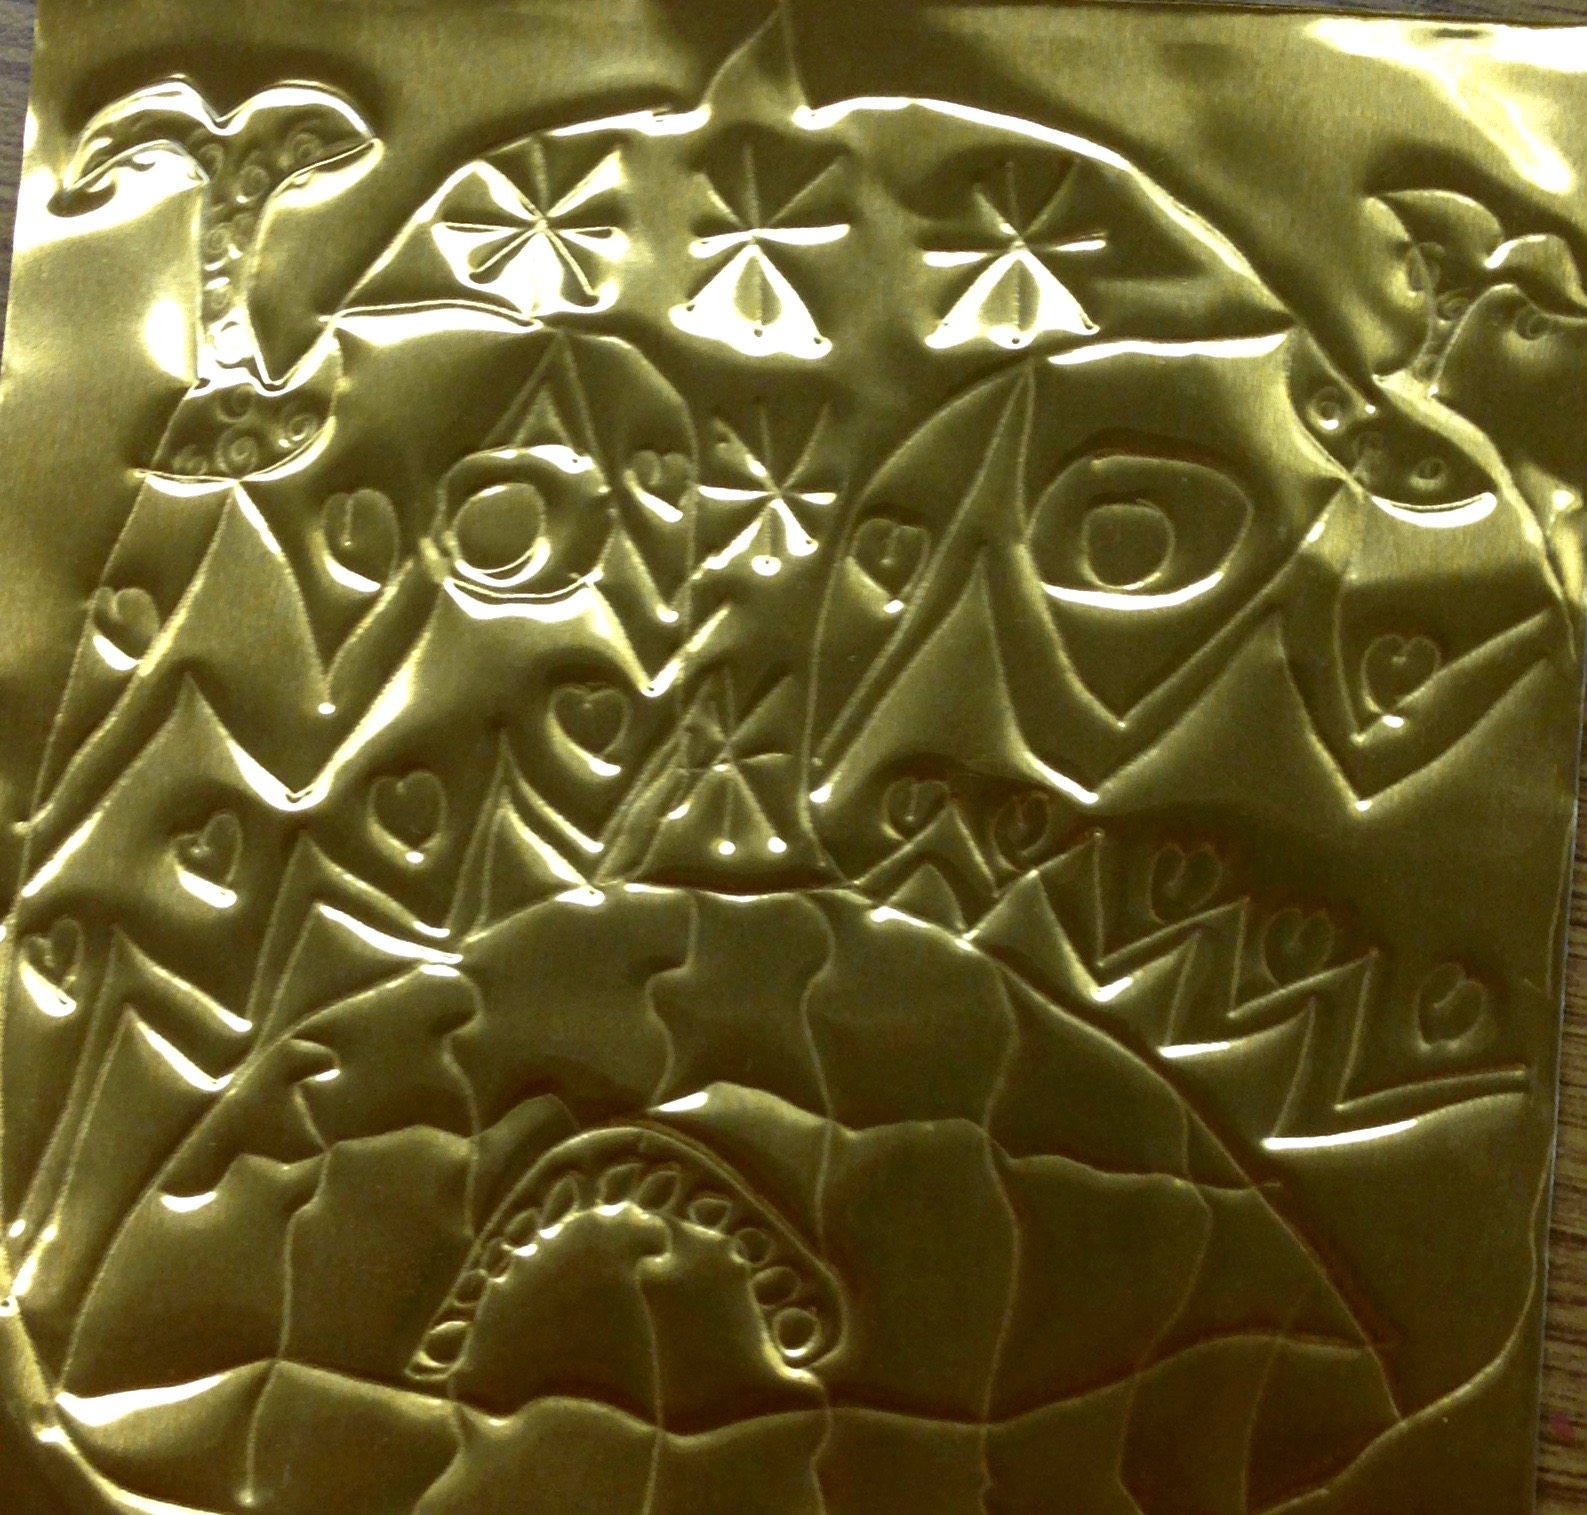
This is a print from Rokoko for inspiration.
This is my family of 4 boys.


Fourth Grade Foil Masks

Fourth graders viewed a slide show about masks in history, cultures and uses today. Besides religious ceremonies, masks have been used in burial, theater, sports, carnivals, emergency and medical purposes, and for ART. The human face is so interesting to artists that masks take on many forms in the art world. Our masks were first sketched in notebooks. These were transferred to a 5x5' paper. The paper was taped to a same size piece of gold or copper foil. Laying this on a magazine to "cushion" the process, students drew over their designs, pressing firmly. This is called "embossing" and pushes the patterns out onto the other side of the foil.  Next students used sharpies to color in their masks, leaving some of the initial foil showing. More to come.......